


Roof Sound Deadening
Every driver not only adores their car’s appearance but also cares about the interior comfort while driving – specifically at long runs or on noisy and difficult roads. In this article we will tell you how to sound deaden your car by yourself, why it should be done and whether you need to sound deaden the roof.
Most drivers wonder whether the sound deadening material can make the roof heavier and whether the material falls off over the course of time.
We can confidently state that Kilmat’s composition makes it very adhesive so it will not fall off.
For roof sound deadening, you can use thinner Kilmat 50 mil that will exercise all the functions without weighting the roof. Please don’t worry about loading your roof: to reach the effect, you just need to apply Kilmat on three fourths of the total ceiling area.
Also, the material feels good under various temperatures – from -49 F to 212 F, which means it would be equally effective in different climatic regions.
What are benefits of using Kilmat for roof sound deadening?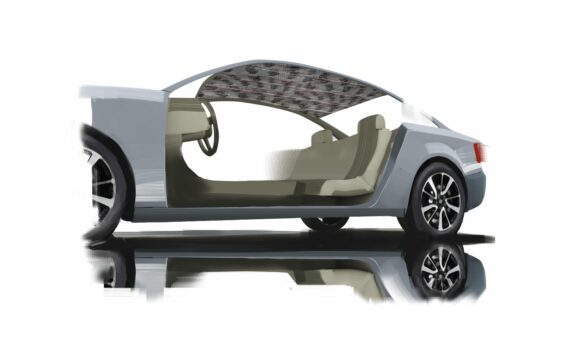
- vibration damping makes the interior quieter – specifically when it rains.
- stronger roof and accidental-impact protection (heavy rain or hail).
- significantly lower rust risk.
- better heat insulation.
Let’s get to the process. Before starting, prepare all the instruments: Kilmat, gloves, clip remover, degreaser, marker, ruler, roller.
- Carefully remove the ceiling trim and plastic parts. After that, remove the plastic ceiling covering. In some car models, you do not have to fully remove the covering – sometimes one just needs to lower it to the floor (this way, the covering will not obstruct the material application).
- Now take the piece of cloth and degreaser. Wet the cloth with the degreaser and thoroughly wipe the entire metal surface of the ceiling. This is important for efficient material-roof adhesion.
- Now measure the distance between the ceiling strength elements and cut the template. The template will make it easier to cut the material sheets of the desired shape. Kilmat’s benefit is in small sheets – it is easy to apply them between the strength elements.
- Remove the protective layer from the Kilmat sheet and apply the material on the flat surface between the strength elements. Apply Kilmat from the center toward the edges. Do not stick the material on the strength elements. Step by step, cover the entire roof.
- For the highest material efficiency, roll down every sheet with the roller. This stage is vital because the material efficiency, durability, and rust protection hinge on the rolling quality.
- After rolling down the material across the entire roof surface, place the plastic covering back. Another Kilmat’s advantage is its thickness – the material is not too thin nor too thick. This is why it allows for easy placing the covering back.
- Assemble the ceiling.
Well done! Roof sound deadening is finished.
You will distinctively feel the result during rain or hail.
Drive with comfort!