


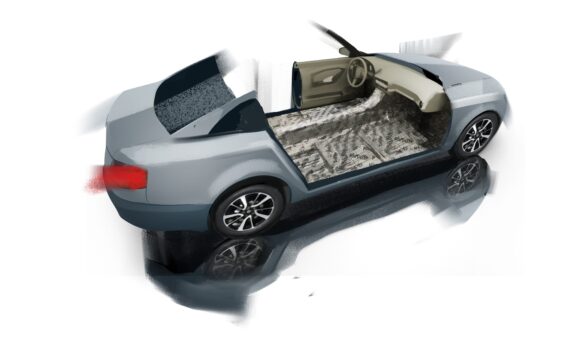
Floor Sound Deadening
Of course, you can drive without any sound deadening, but are you sure you will enjoy your driving then? Won’t you be annoyed by street sounds or noises of your car?
If you decided to upgrade your car or restore an old four-wheeler, or just want to feel more comfort when driving, we heavily recommend you to sound-deaden the floor.
Why?
- In fact, the car floor covers a large area and resonates distinctly, conveying vibration from the engine or wheels. As a result, both the driver and passengers feel it.
- The floor is made of a quite thin material that easily permits suspension or tire noise through—especially when on a poor-quality or wet road.
Can sound-absorbing material Kilmat solve these problems? Yes, it can! By using Kilmat in your car, you will significantly reduce the wheel, suspension, and road noise, and get rid of interior panel squeaks and rattling.
The material is butyl rubber based, of 50 mil or 80 mil of thickness. Such properties allow for quite effective dampening of body rattling. There are large and small packages to suit different tasks and dimensions
So. It is not that difficult to perform floor sound deadening by yourself. Before starting, carefully read the material instruction and prepare all the necessary instruments:
- vibration-damping material Kilmat
- gloves (to protect your hands from cutting and staining)
- degreaser
- scissors or utility knife
- tools (for body dismantling)
- marker or pencil
- ruler
- roller
All set? Let’s get to sound deadening.
- Carefully remove the seats, plastic panels, clips, and the floor covering.
- Vacuum-clean the floor and then wipe all the metal parts with the degreaser.
- Take a sheet of Kilmat and remove the protective layer.
- Apply the sheet on the metal surface of the floor, sticky side down. For better sticking, roll every sheet down with the roller. It is important to ensure there are no air bubbles between the surface and the material — otherwise, moisture may condensate there.
- Apply the material sheets toe to toe, covering as much of the floor area as you can (at least 70 to 80 percent). Most importantly, apply the material on flat areas without the reinforcing elements.
- When processing the front part of the floor, try to push the sheets as far under the dashboard as possible. Carefully seal all the holes that may permit noises through.
- We recommend applying two layers on the wheel arches — to reach the better deadening of wheel and suspension sounds.
- Do not cover the seat and panel fastener holes. Make sure you remove the material from it, cutting around with the knife.
- Do not overlay the material — instead, cut the excess part off.
After applying the material, place the trimming, seats, and panels back.
Here you are! As you can see, sound deadening with Kilmat is easy, affordable and effective. For better sound deadening, process your doors and trunk.
This will not only give the highest possible sound deadening effect, but also improve the heat insulation to make the car cooler in summer and warmer in winter. Moreover, the acoustics quality will improve as well.
Wishing you all the best!